How to Design Continuous Graphics
Designing graphics across two or multiple panels on your trade show displays? The following tips can lend a hand and answer some questions you may have while designing.
They can ensure that your graphics are produced and delivered with the most guarantee of satisfaction. When possible do make sure to review these tips as they can enhance your trade show displays. If you are unsure or need additional assistance, visit our graphic design service as they can review and alter your graphic to be production-ready.
1. Design Within Sections

Multiple panels make up the entirety of your graphics. Notice the area where each panel is divided and arrange your design to account for the cut. The placement of your objects/graphics is to be considered. When creating continuous graphics, it is best to move or scale important text, faces, or figures so they are not over a panel or seam. This is to allow a more refined edge-to-edge display of graphics.
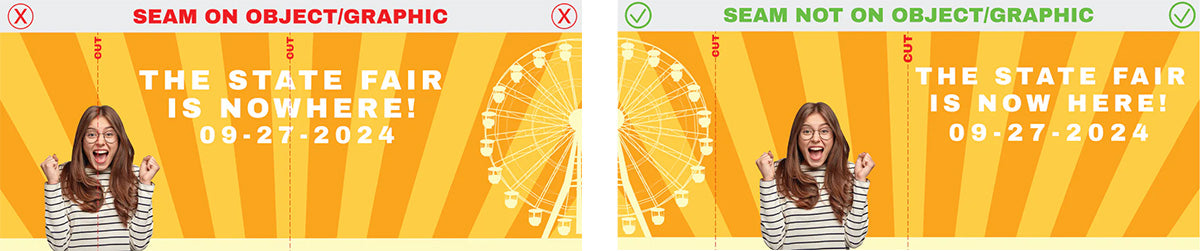
Seam on Object/Graphic
This graphic contains 3 individual elements to consider. The girl and the text are all on the cut line whereas the ferris wheel is not. These items should be moved or adjusted to avoid being cut. The text that overlaps the two panels if allowed should be placed on one panel.
Seam not on Object/Graphic
This graphic shows the improved placement of the girl into panel 2 and being avoidant of any cut lines. The Ferris wheel was moved to panel 1 so that the text could be placed in panel 3. The text now can be read completely on panel 3 without the risk of misalignment or letters being cut off.
2. Shifting Away From The Seam
When fonts and lettering are placed along the panels be aware of the cut lines. In some cases, text that is arranged on all panels may fall along cut lines. To have your graphics read and appear correctly if allowed adjust the placement of the letters or words to be in between the cut lines.
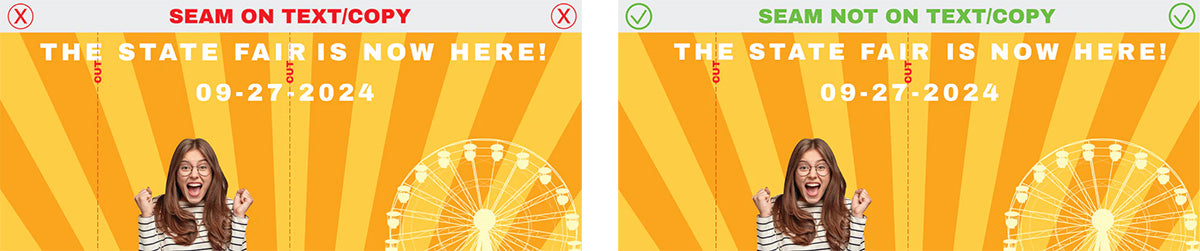
Seam on Text
In this graphic, the words THE, FAIR, and the DASH in the date are all being affected. The end of the E would be subject to being trimmed, as well as the spine of the R and the length of the DASH. This happens because those elements are lying directly on the cut line.
Seam not on Text
In some situations, the font size can be increased or the spacing between the letters can be accounted for and placed in between the cutline. For example, the H and E provide sufficient space to allow the cutline to be in between the cutline as well does the I and R. Also, after adjusting the text size the date now has more room to accommodate the cutline.
3. Notifying Us
When creating continuous graphics, it is crucial to inform us that the graphics submitted are going to be continuous. Our finishing team can then make the necessary arrangements to best achieve your design visual presentation. Without the notification issues and problems can arise that can severely alter your design.
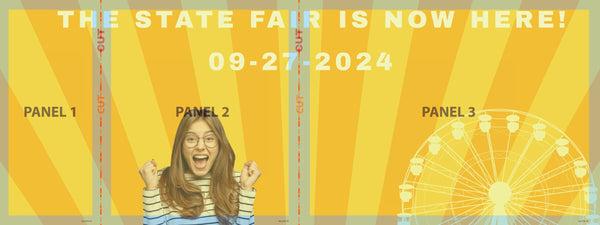
In the image above the template is overlayed on the submitted graphic. The template illustrates the location of each panel and the cut lines. The graphics if we are not notified would be printed and trimmed as shown in the next example.

Not Notifying Us
The blue portion of each panel was trimmed and sewn because we were not informed the graphics were continuous. Now the graphic text is missing parts of the H and E. Also, the I and R were trimmed off causing the graphic to be read incorrectly as well as the date for the event.
Notifying Us
With notice, our finishing team can print each panel and consider the fact that they are all part of a continuous graphic. Afterward, we can make the necessary adjustments to print the design correctly as shown below. All the text is eligible and visually correct.
Conclusion
These guidelines aim to enhance the look and delivery of your graphics with the utmost satisfaction. It is recommended to review these tips whenever possible, as they have the potential to improve your trade show displays.
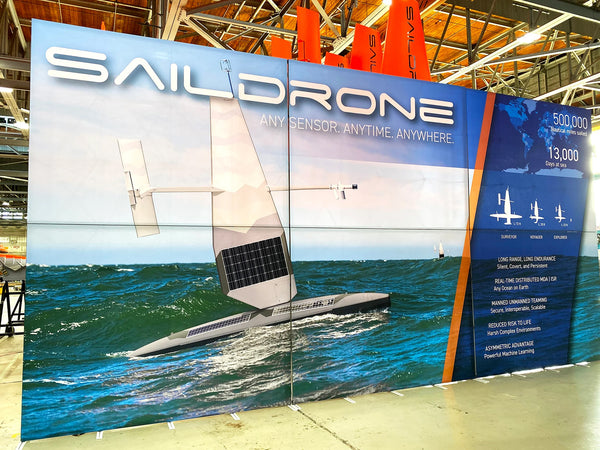
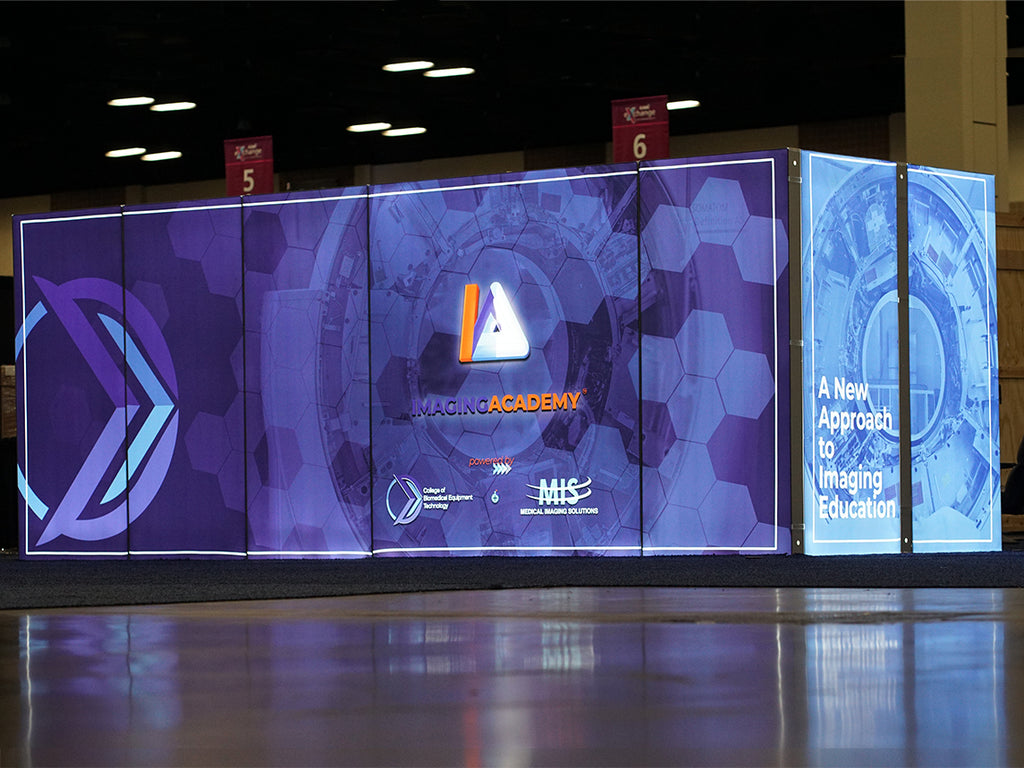
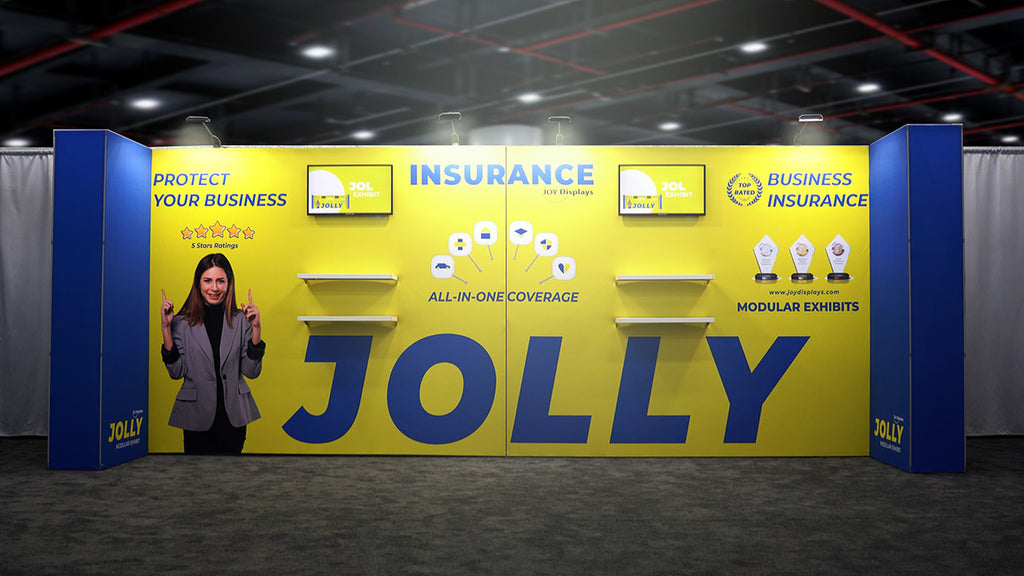
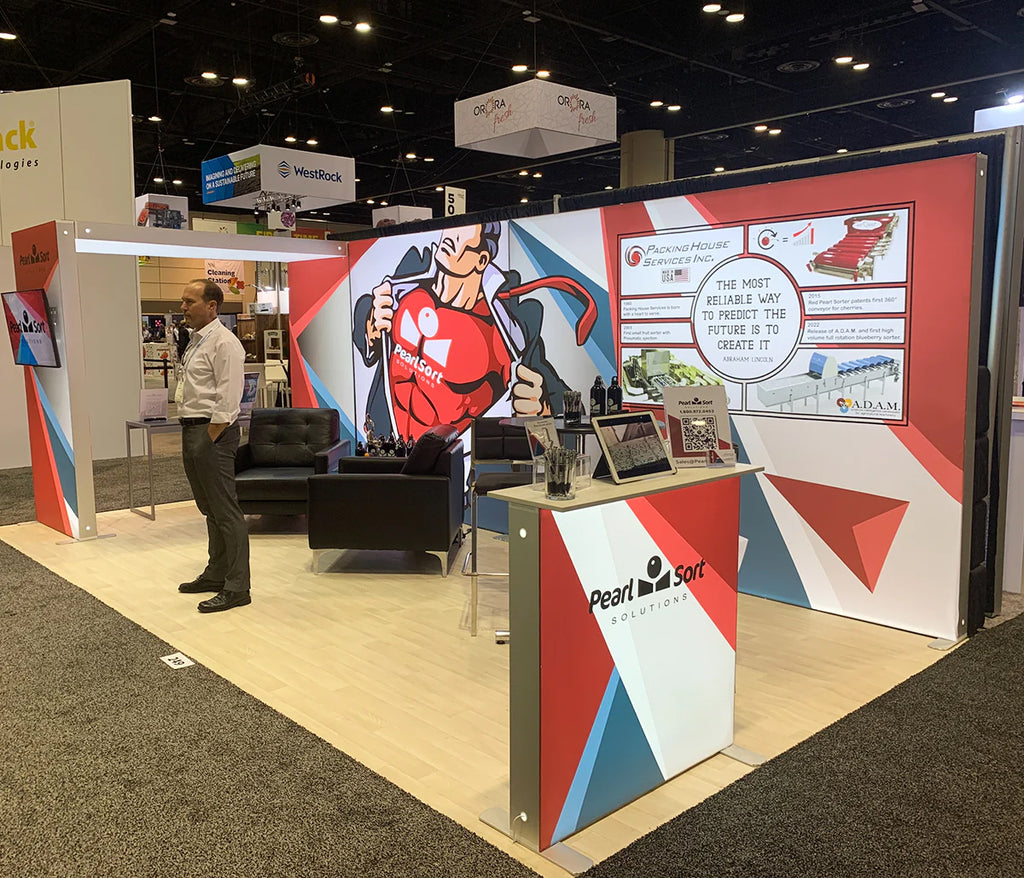
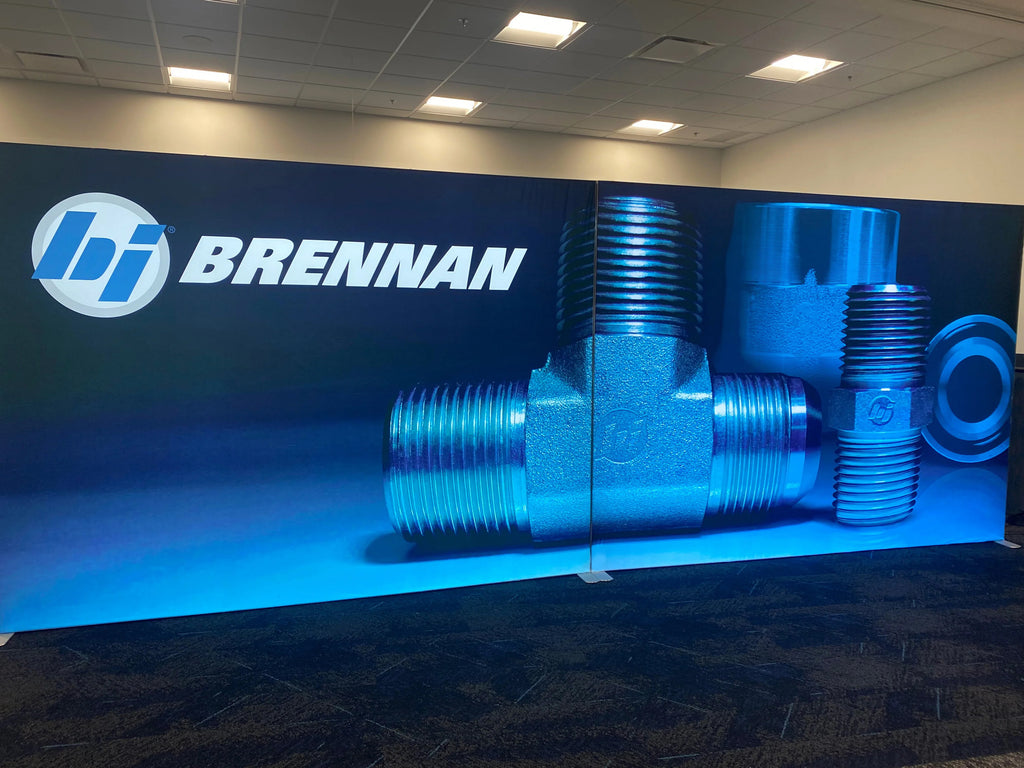
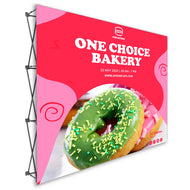
Continuous Trade Show Display Examples:


Trade Show Displays - Best Sellers

- Regular price
- $744.00
- $632.00
- Sale
- Regular price
- $758.00
- $644.00
- Sale

- Regular price
- $845.00
- $718.00
- Sale


- Regular price
- $2,400.00
- $1,895.00
- Sale

- Regular price
- $3,112.00
- $2,925.00
- Sale

- Regular price
- $2,969.00
- $2,095.00
- Sale